If you purchased graphics kit for yourGas Gas 700 you can see, that most of the graphics are easy to apply. But applying graphics on side panels could be sometimes tricky because it has big curves on big panels for big stickers. Therefore we prepared this step by step manual to help you with the fitting. If you read all instructions carefully it will help you to better understand how to use this procedure to apply any other graphics.
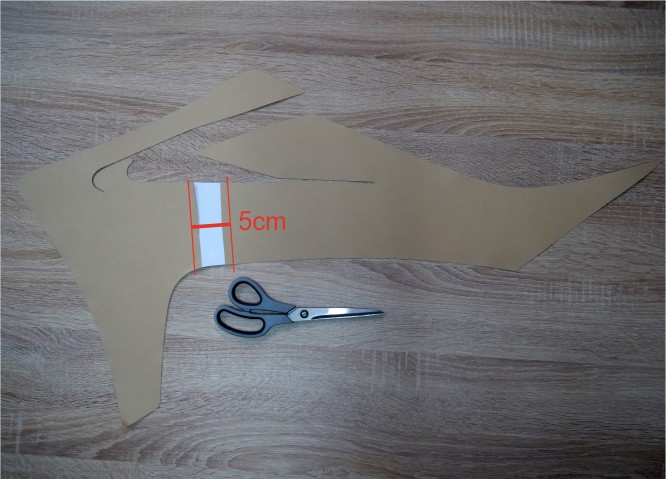
Begin by removing the protective back from the adhesive surface and proceed to slice a 5 cm gap down the center of the paper.
2. SET THE POSITION
Set the position of stickers on the shroud's front and back corners.
3. STICK THE GRAPHIC
Affix the sticker onto the area where it was previously trimmed.
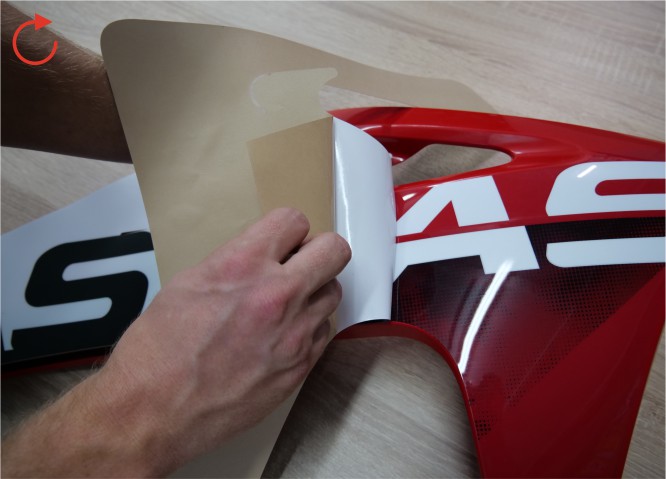
4. PEEL OFF BACK PAPER
Remove the back paper gradually toward the front, leaving around 10 cm exposed.
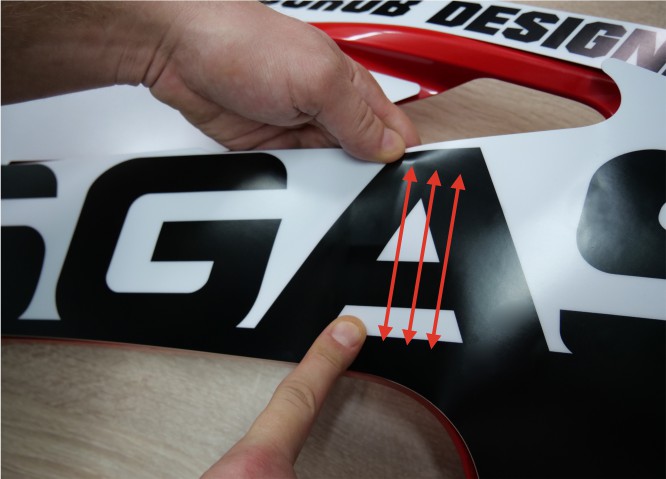
5. PRESS THE STICKER
Gently apply pressure to the sticker using your finger, gradually moving towards the front until you reach the edge.
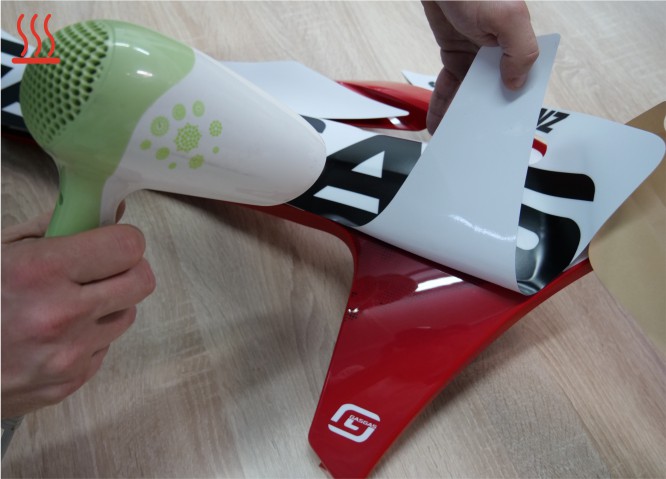
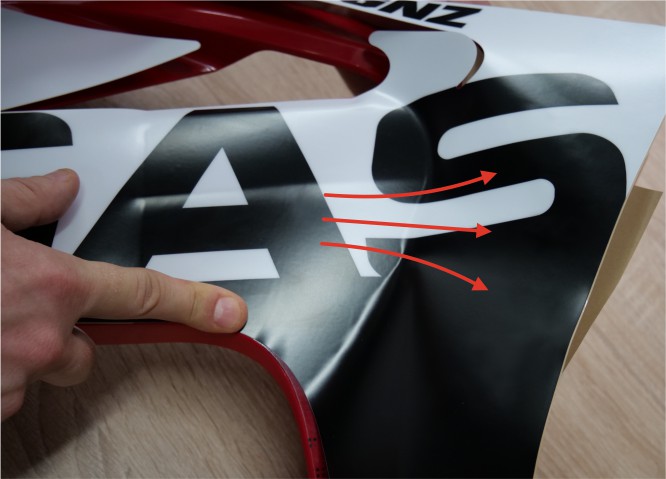
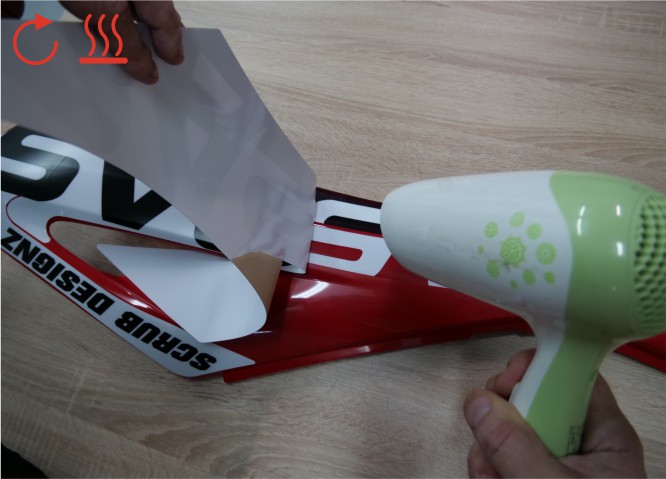
6. HEAT UP THE STICKER
yer to the lower section of the sticker. As the sticker becomes more pliable, press it firmly onto the surface, working your way towards the edge in a slow and deliberate manner.
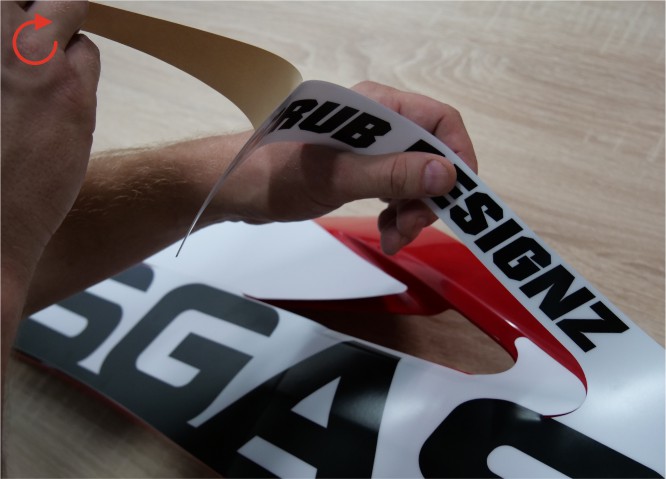
7. PRESS THE STICKER
Peel off the back paper on the top of the panel.
8. PEEL OFF BACK PAPER
Press the sticker gently and gradually to ensure it adheres completely to the upper panels edge.
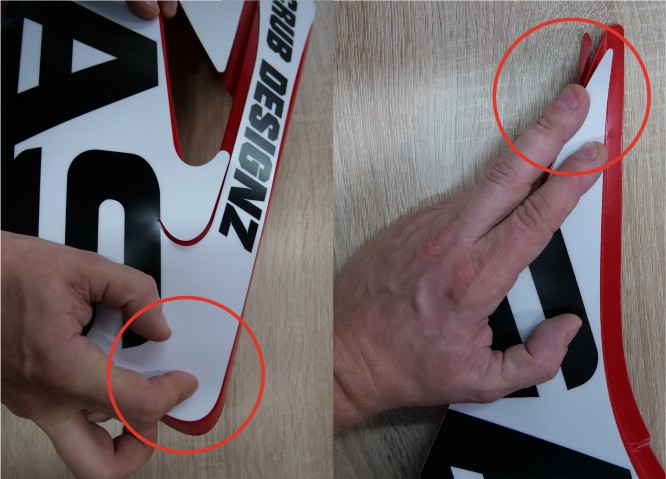
9. FOLD OVER THE EDGE
Remove the back paper and apply heat to activate the adhesive of the sticker.
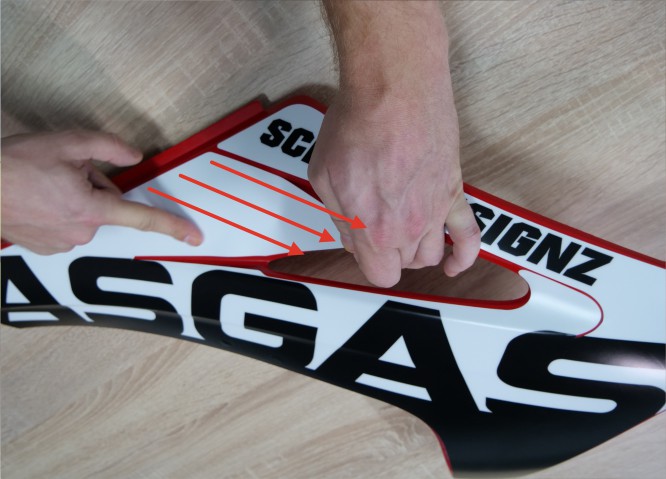
10. HEAT UP THE STICKER
Gently apply pressure on the sticker using your finger and move it towards the back until you reach the edge. It's best to begin from the crease and work your way outwards.
11. PRESS THE STICKER
Remove the remaining back paper from the sticker. Use your fingers to firmly press the sticker onto the panel, starting from the back and working towards the front edge.
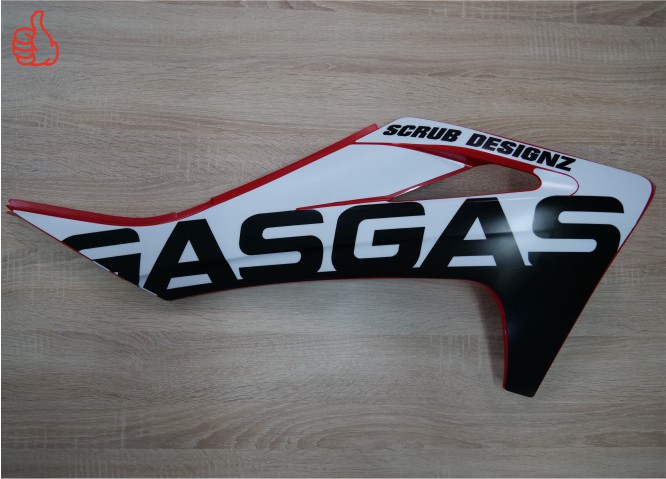
12. LET THE ADHESIVE BOND
To ensure optimal adhesion, allow the plastic to sit at room temperature for a full 24-hour period. The following day, carefully inspect the edges and gently apply pressure to any areas where the sticker may have become detached.